We all want our kids to build their creative muscles. We buy the open-ended toys, we set the stage for creativity, and then when it doesn't happen like we are hoping and our child has a meltdown three minutes into what was supposed to be a magical play session, it can leave both us and our child discouraged and even frustrated. A technique used by teachers that we sometimes forget as parents at home is how important scaffolding is. Teaching children to master small steps and then using those steps to help them climb higher and higher is scaffolding in a nutshell. We do it with babies when they learn to eat, and we also need to do it with pre-school and elementary kids when they learn to play, particularly with open-ended toys because they are actually required to think (and that's a good thing).
Here is a simple breakdown of what that might look like in a play setting and a method that usually proves successful in helping a child get started playing as well as encouraging them to keep coming up with new ideas and really get in the zone of creative thinking.
Remember this simple phrase when introducing any new toy or technique that you want your child to explore: " I DO - WE DO - YOU DO "

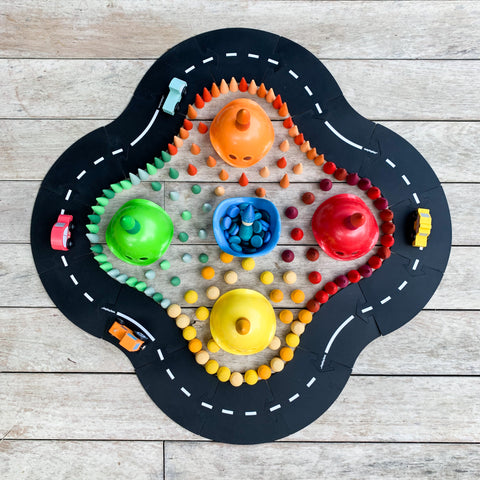
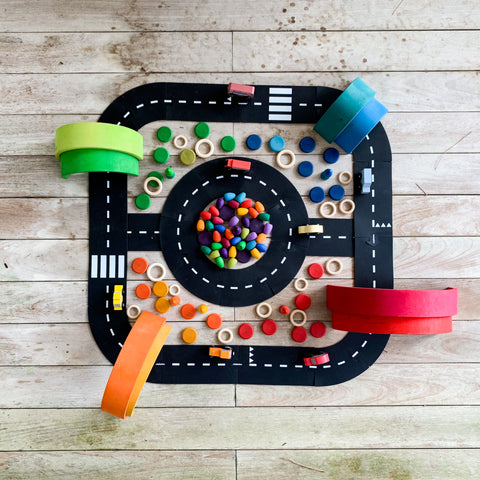
"I Do" - As much as we tell our kids to go play and magically expect them to be self-starters and immerse themselves in a world of imagination without any help from us, that is something that actually comes much later after they have practiced all the other smaller steps to get there many times with our help. The more we show by example how to be a self-starter, the more they learn to be one themselves. This looks like us getting on their level and demonstrating in as much detail as we can the play technique, concept, or thought-process we want them to mimic and then add on to. Remember that whatever you mimic needs to be something they can realistically copy. If you have some of our waytoplay roads and want to get your child to play with them...sit down and build a simple shape. If you are working with blocks, make a simple tower or house using techniques that are age appropriate for them to copy. As much as making a huge set-up seems fun (and would be great if your goal is just to make a fantastic invitation to play), if your goal is for them to play solo, keep your demonstration realistic and once they have basic techniques down, THEN slowly show them how to combine techniques to make larger things. They will get there...but start with baby steps.

"We Do" - After they watch you do this (bonus points if you talk out loud to yourself while you do it so they can hear your thought process as you go), do the exact same thing, but invite them to join you. Both of you work together to make something using the same technique. Watch your child to make sure that your demonstration WAS age appropriate and make adjustments as necessary. You can problem solve together if they get stuck and work side-by-side until you have succeeded together. Instead of correcting them if they don't do it just like you did, try using questions as a way to guide them to success: "I wonder why that one fell over...hmmm..do you think we might need to try it a different directon? What do you think?"

"You Do"- By this point they will hopefully be excited to try it by themselves (or you may need to repeat the "we do" step a few more times), but when they are ready and willing to fly solo, stick around to give moral support and give as little input as possible while still being there if they need you. Once they seem to take off on their own...slowly back away and leave them to play. They now have a basic understanding of a technique they can play with and can feel successful experimenting with. Remember, when a child knows enough to feel successful with a basic concept that they can then go start to improvise on it, that is when it really becomes "theirs". That is where we want them to get, but in order to get there, we can't skip the scaffolding, or they will very likely get frustrated because they lack the basic knowledge to be successful. Many times this only takes 5 minutes...but that 5 minutes can be the difference between a child playing for 1 minute without scaffolding and and 1 hour with it. Try this the next time you are trying to encourage open-ended play, and don't forget to have some great music going to help them get in the zone while they play.
Stay tuned for part 2 of our "scaffolding in play" series where we break down techniques used by teachers to help children learn, grow, and challenge themselves to problem solve and think outside the box in open-ended play.
Enjoy the Journey!


